start 🠘 🠘 🠘

↓ Freecam + ReShade ↓
As your loving Lord and Master, I shall explain everything in an understandable manner for those who are unfamiliar with the realm of modding tools.
ReShade is like a powerful lens that we can attach to our game, it improves the visual quality by adjusting many things such as contrast, lighting, sharpening and even adds artistic filters.
On the other hand, Freecam allows us to control the camera much more freely without being restricted by its original paths set forth by the developers.
This opens a whole new realm of creativity in screenshots and videos. We could roam across our magnificent palace or gaze into the eyes of our beautiful cat 'Fang' from any angle we desire, all while capturing those moments with ease!
Site content at the moment:
-_-_-_-_-_-_-_-_-_-_-_-_-_-_-_-_-_-_-_-_-_Official Freecam tutorial here
Activating the camera mod (Steps 1-9)
1. Open BG3. (You can also already load a savegame. But the camera will already work in the game menu where the group of people walks down the stairs, which is really fun to look at with free cam)
2. Click IGCSClient.exe
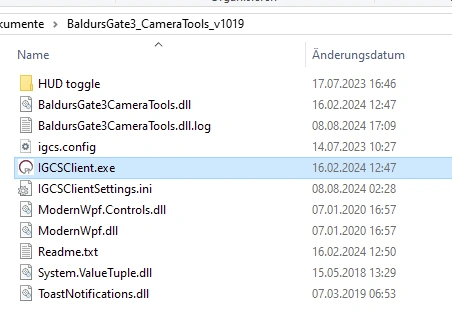
3. Click Select and find the bg3.exe (or bg3_dx11.exe, if you use that one)
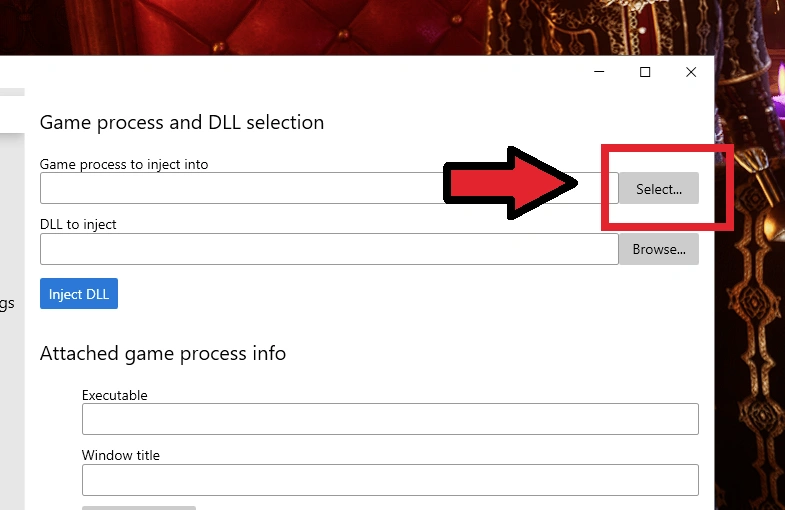
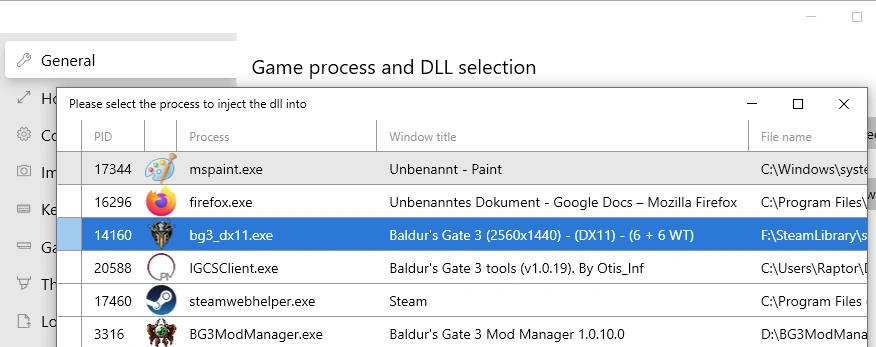
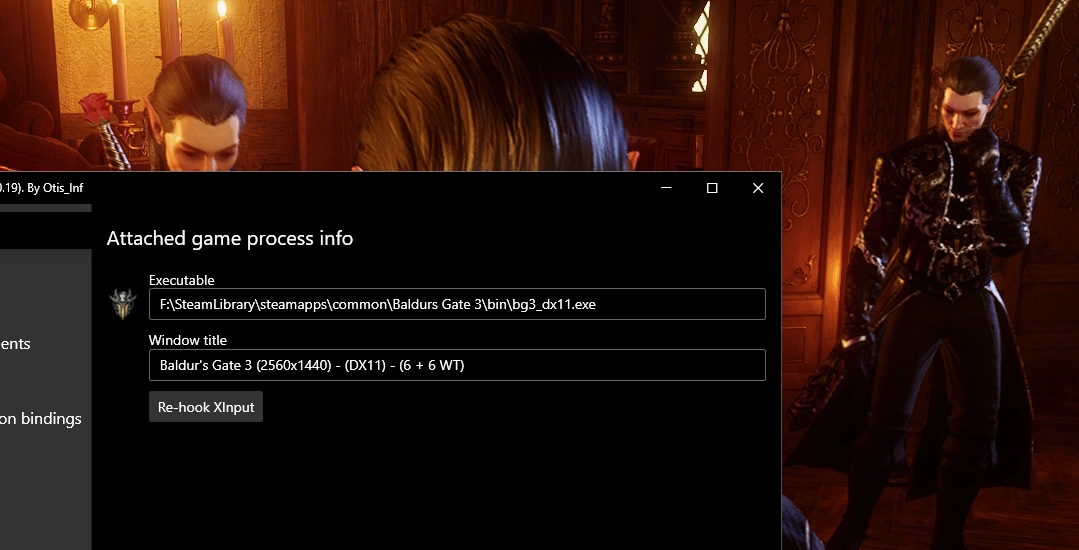
4. The program should open now:
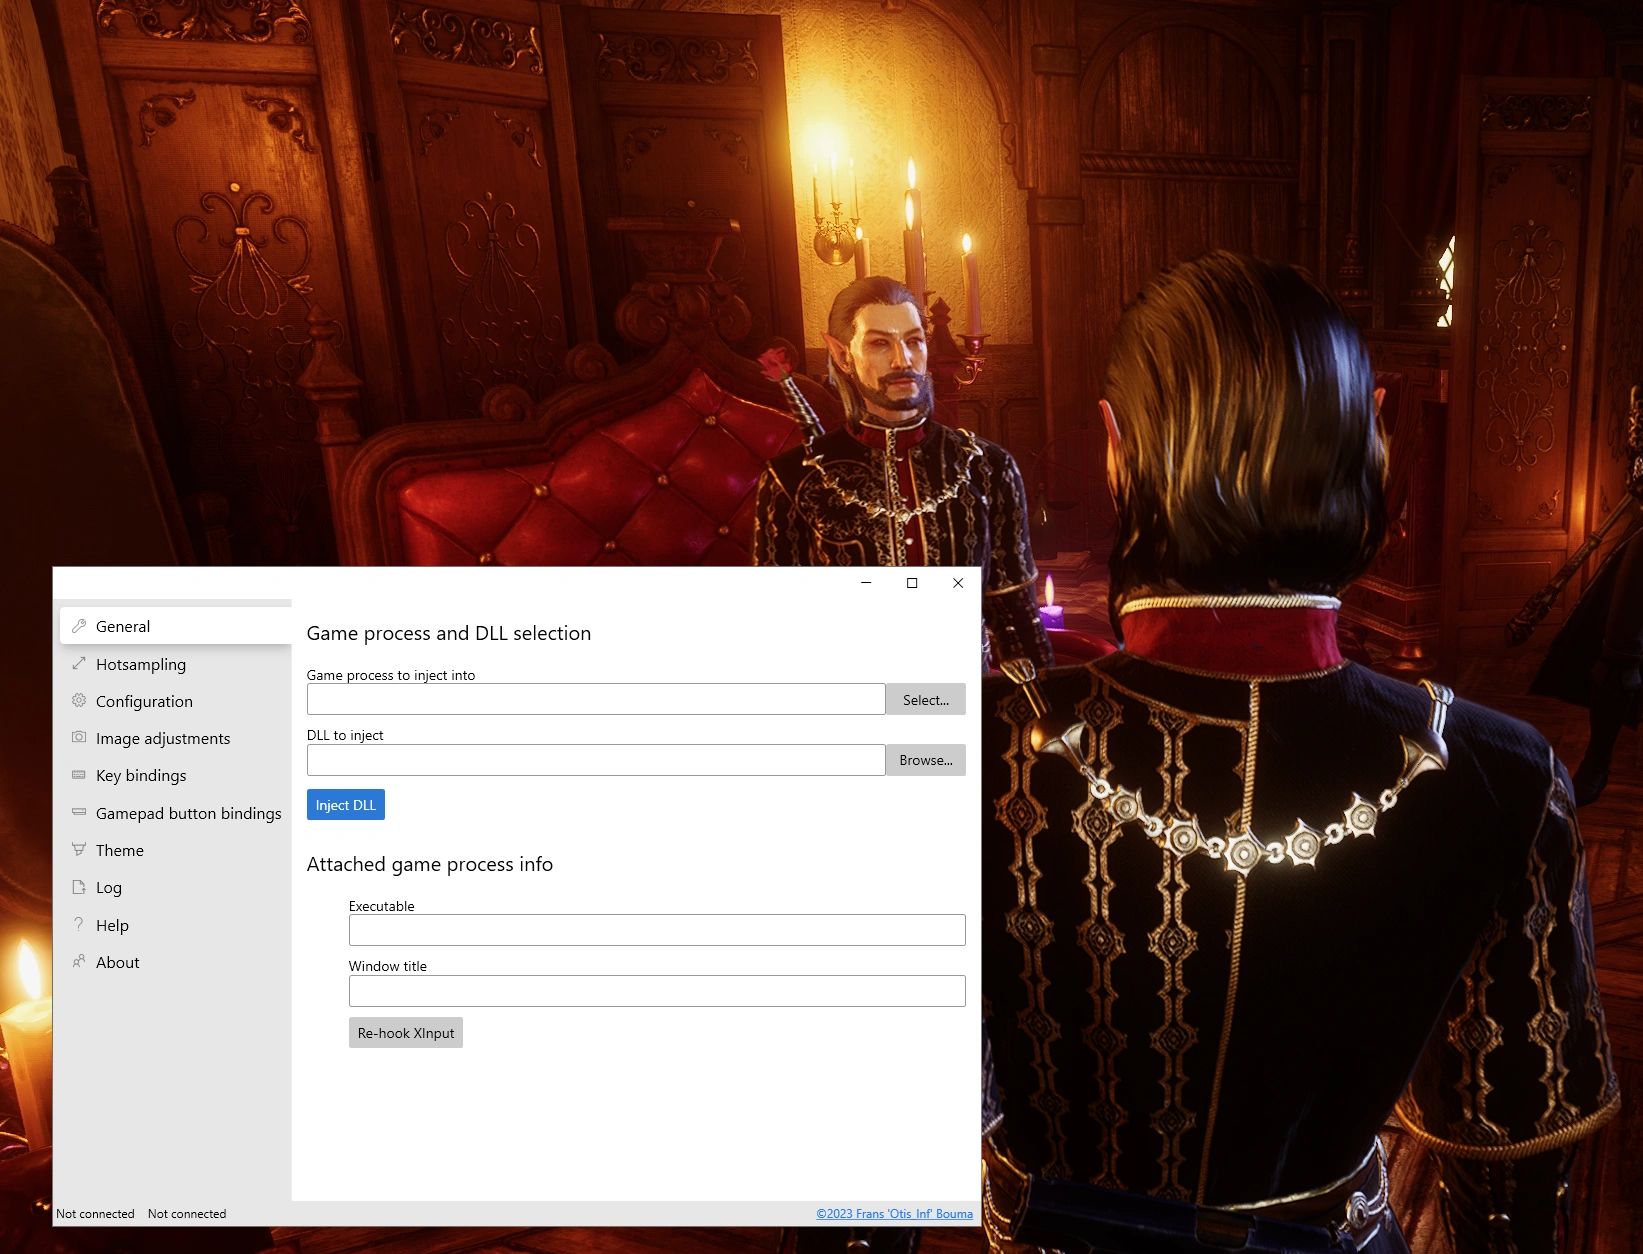
5. Then it should look like this:
6. Step 4: Go to the Keybinding and check which key really activates the camera (I think Insert is standard? But maybe I changed it, aaah!)
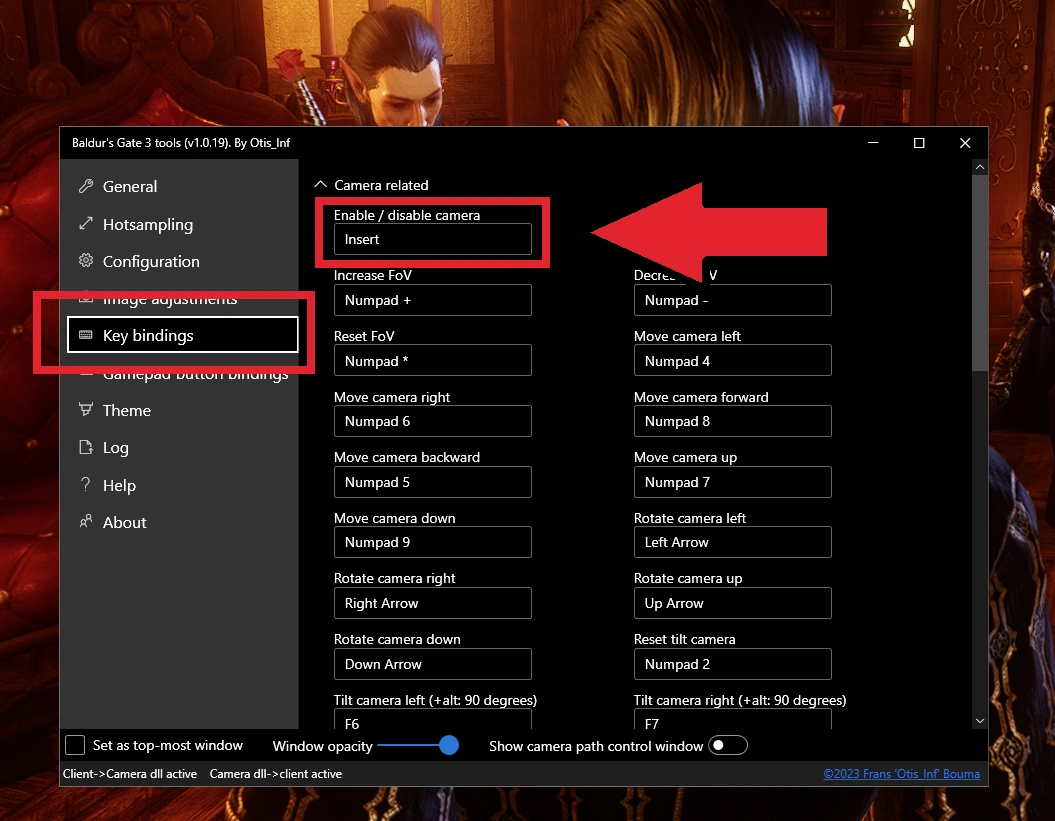
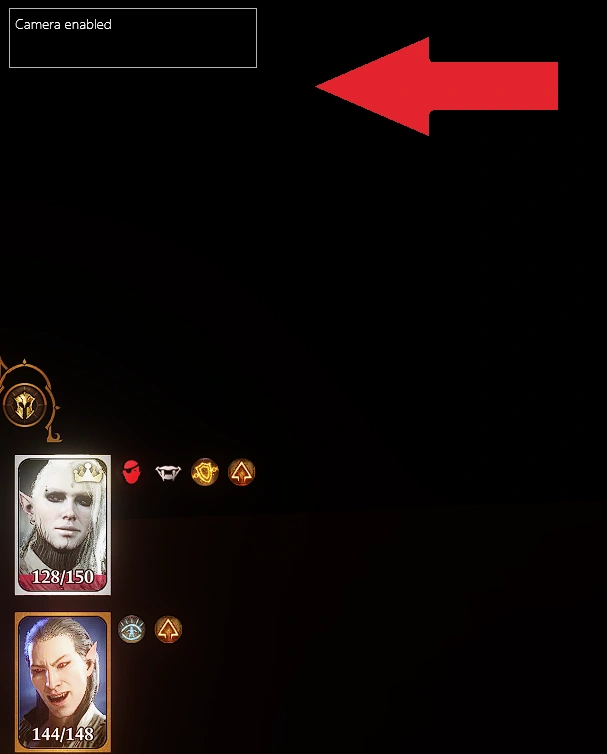
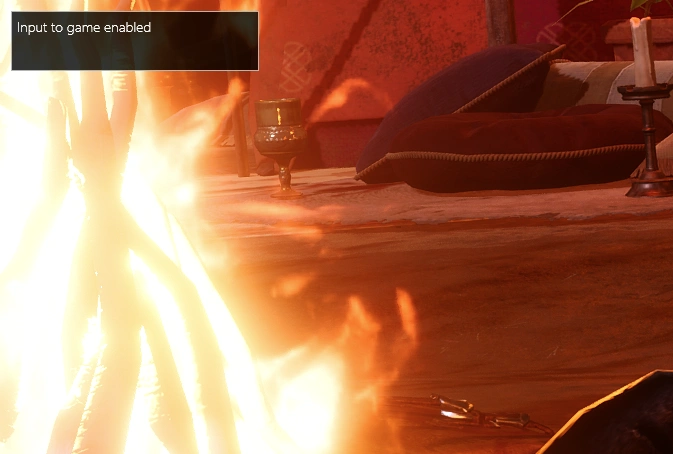
7. PRESS INSERT (or whatever key it is for you) AND ACTIVATE THE CAMERA FOCK YEEEAH!!!! You will see if it worked, by this pop up in the corner:
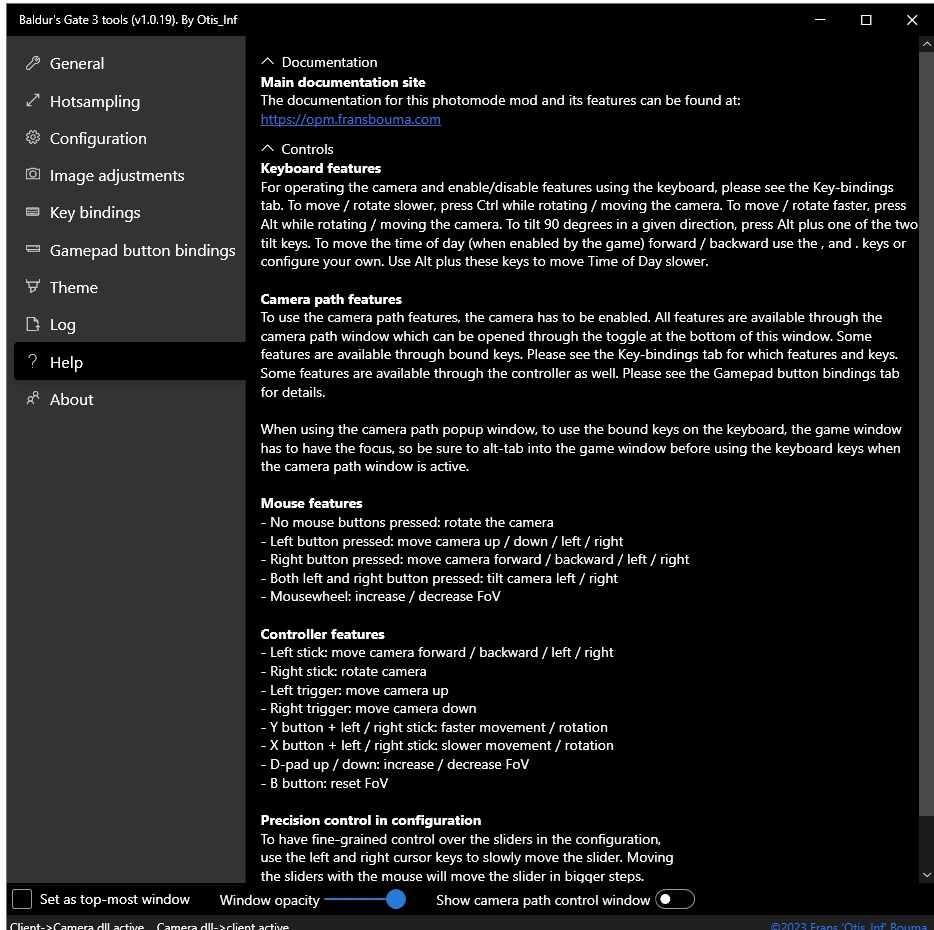
8. If you move the mouse now, it should move the camera. You can now freely move the camera around how you want. Depending on which mouse buttons you click and hold, the camera will move differently. You can check out this, the mouse features explain how to use it:
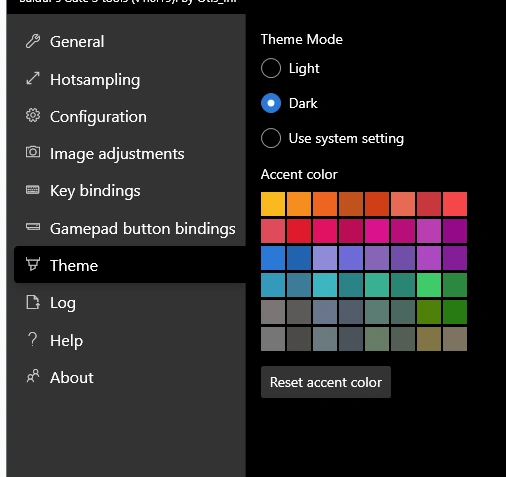
9. ps: The theme can be changed here:
Official tutorial here
Using the IgcsDOF plugin for rendering screenhots
(Step 1-13)
1. VERY IMPORTANT!!!!!!!!!! Make sure that the "game input" on your freecam is enabled. Otherwise, when you press yoru screenshot button for Steam, it will be ignored. If this happens to you: Cancel the screenshot render, enable game input and render your screenshot again.
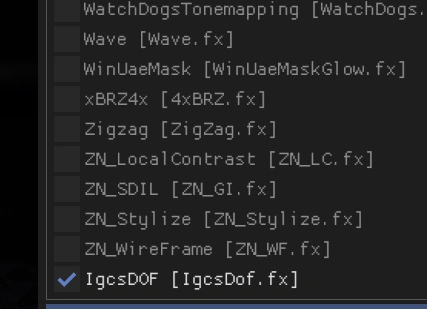
2. Also very important: The IgcsDOF should always be on the bottom of the list. Otherwise it will not include all the other ReShade settings unterneath when screenshots are getting rendered.
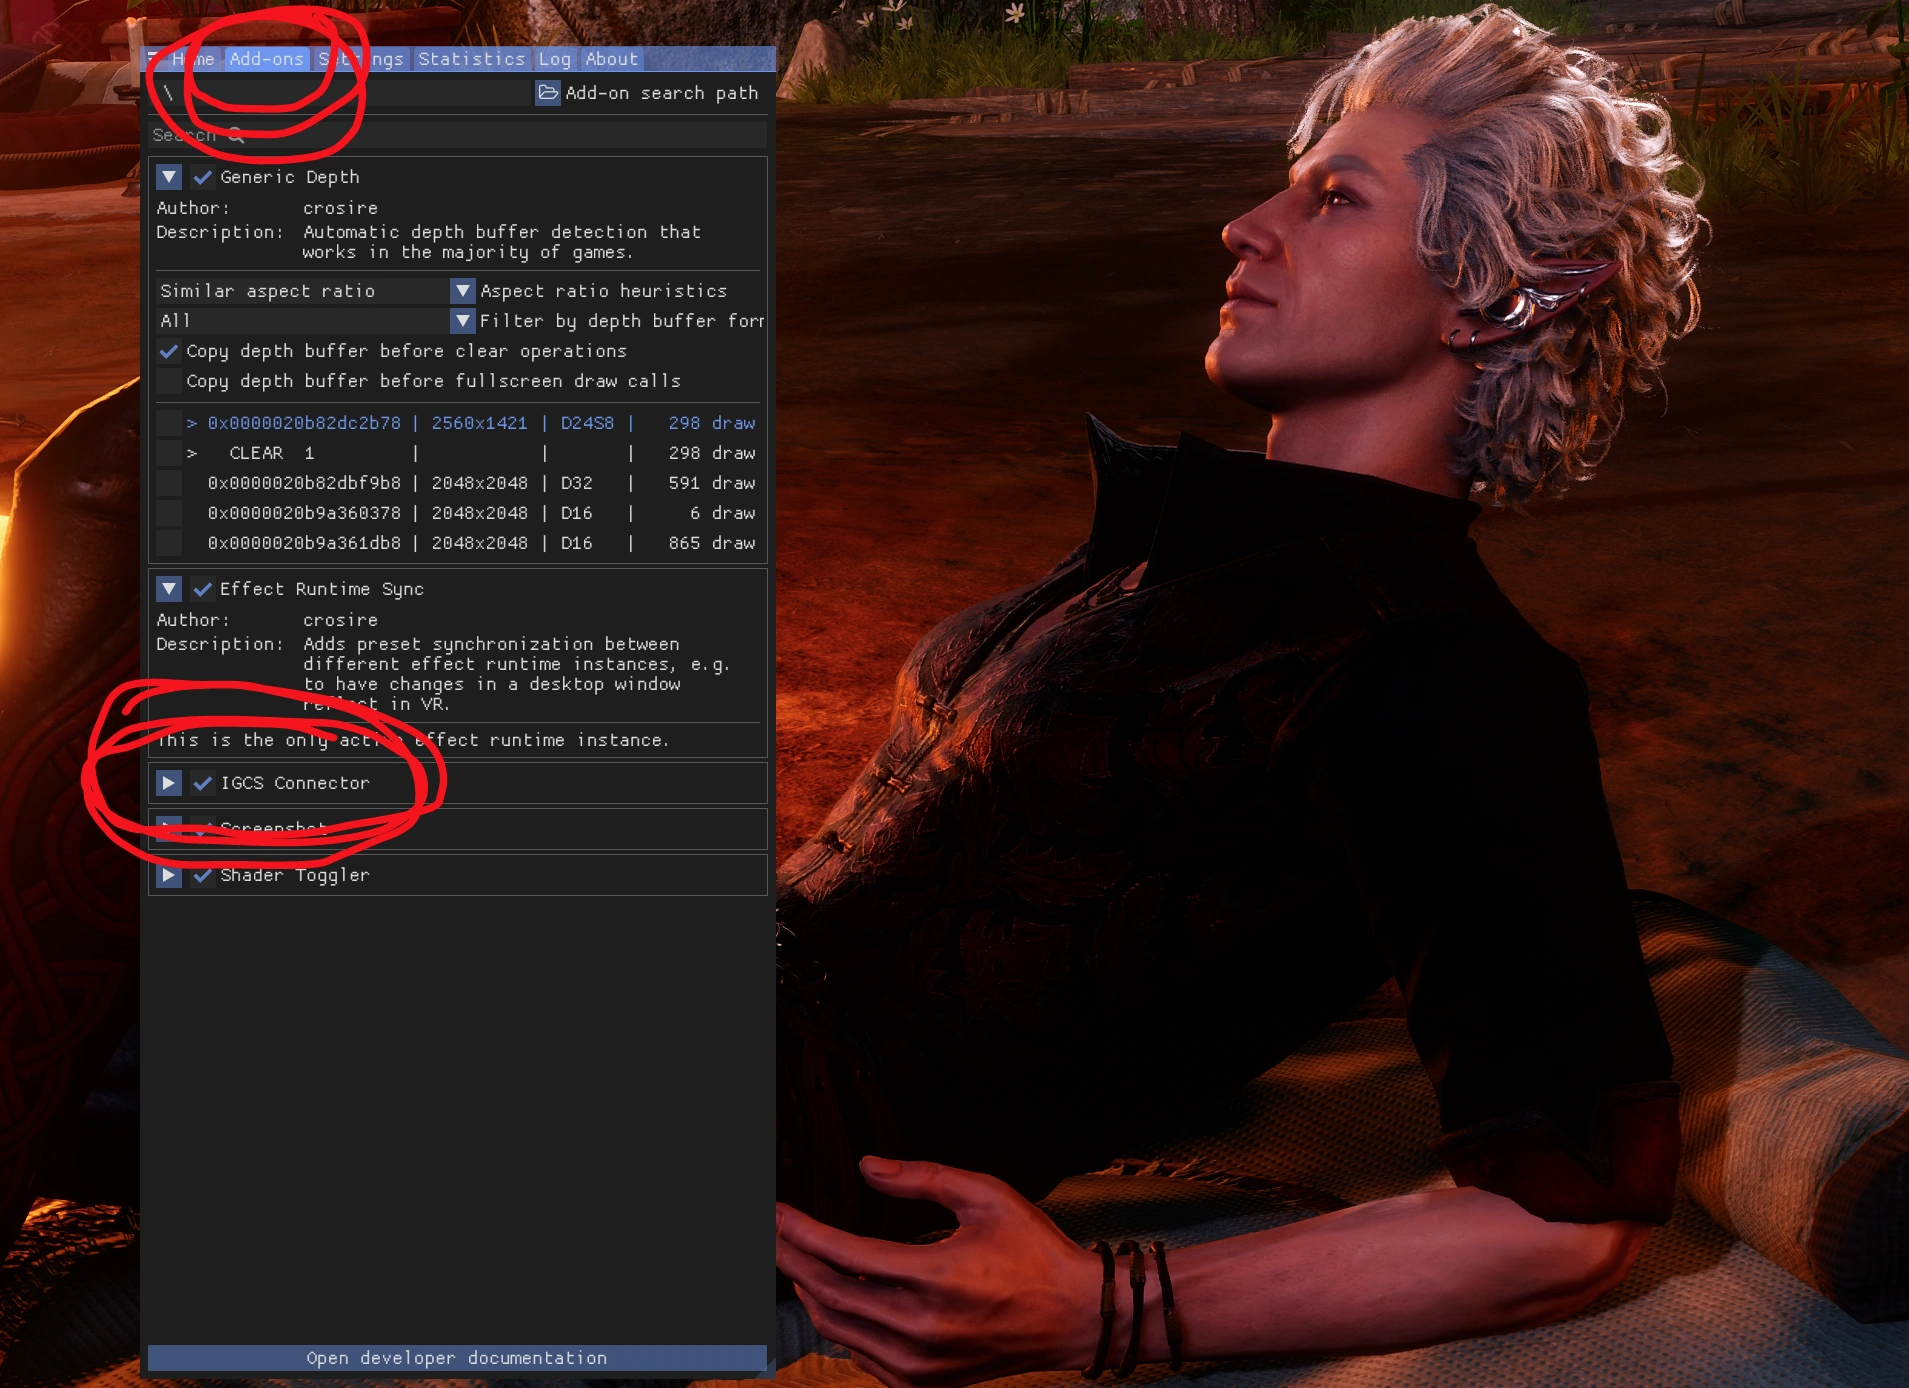
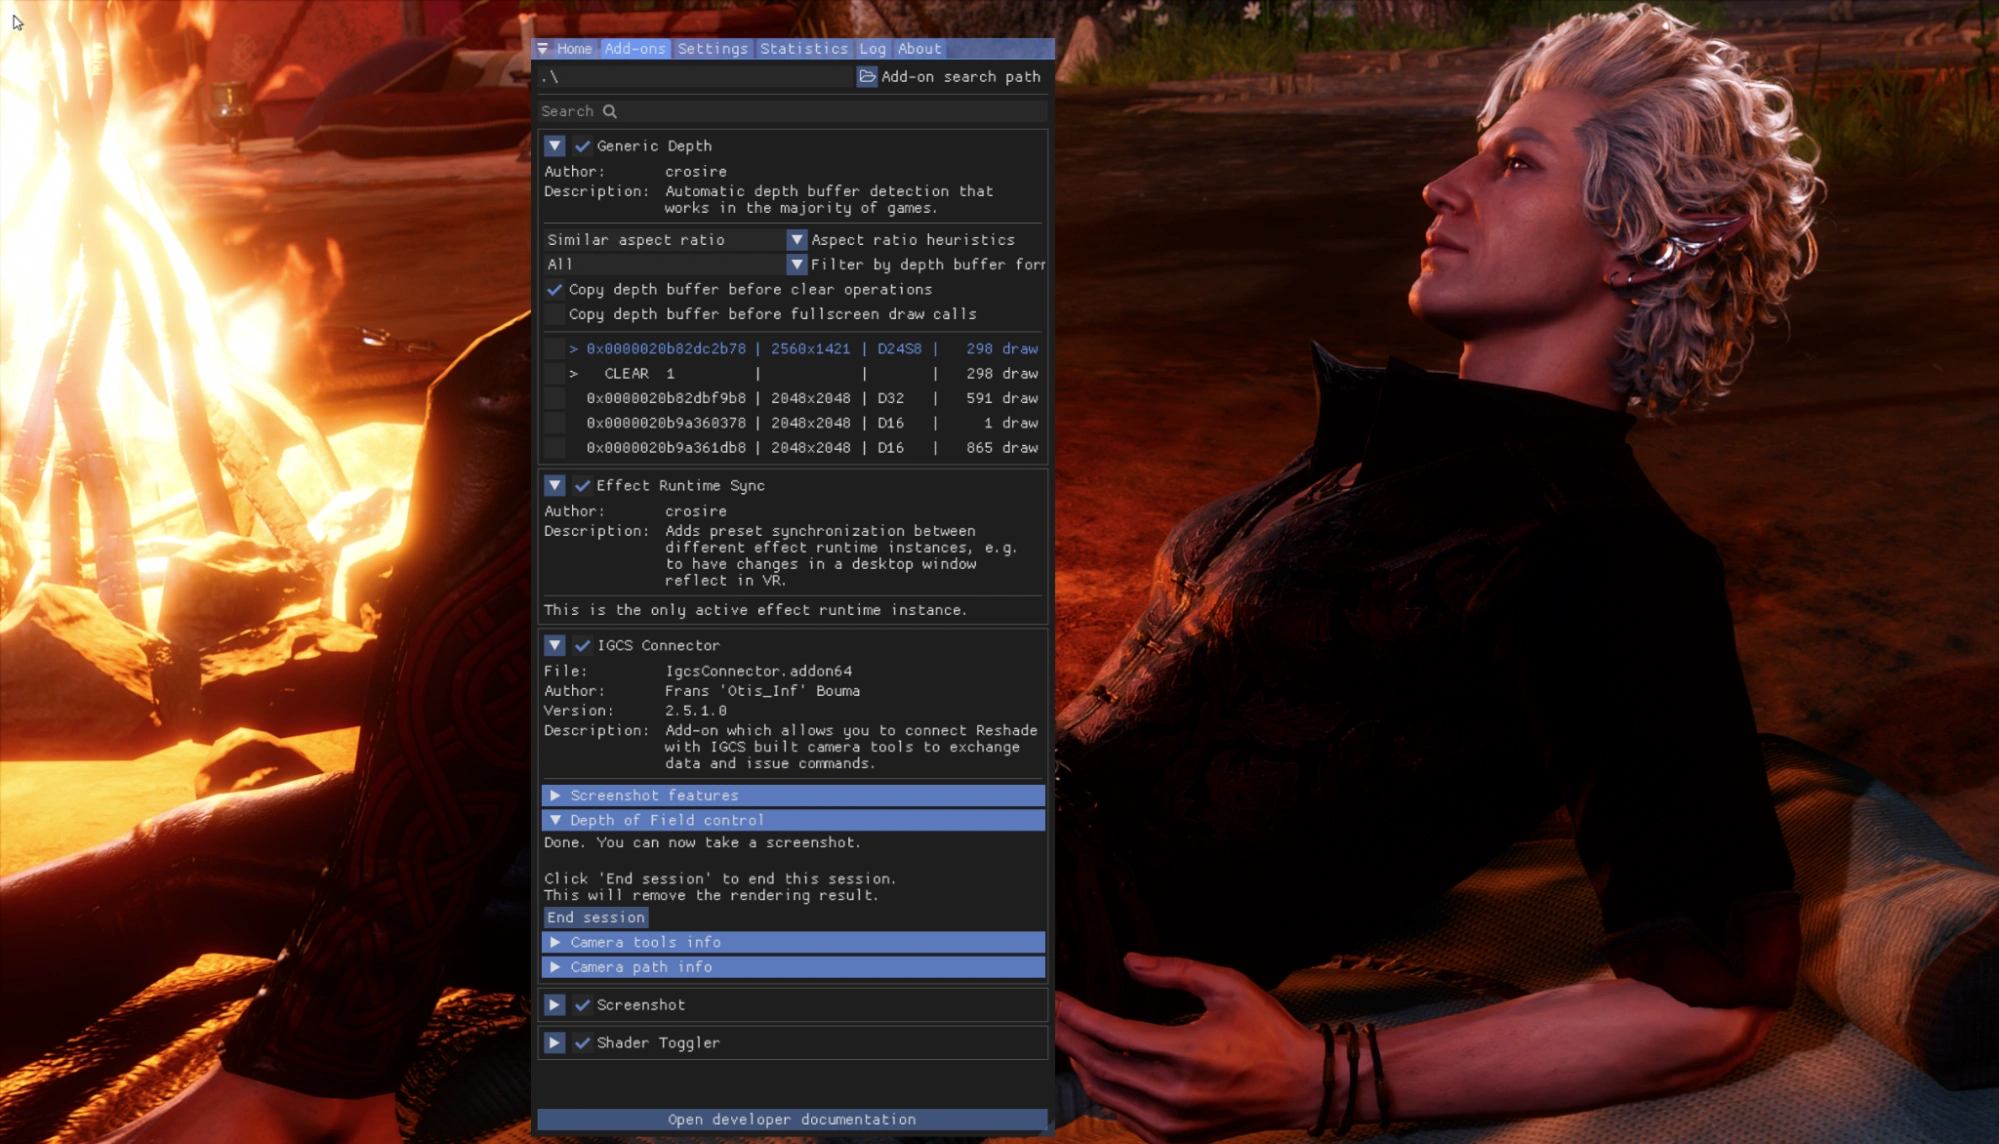
3. Under the "Add-ons" tab, you will find the IGCS Connector settings. Click it to open up more settings
4. Make sure the current angle of your screenshot is what you really want and is the end result you want to see. Now you can start the depth field session
5. Start the session. Things will be a little bit blurry for now, because it’s two different angles of the picture overlapping.

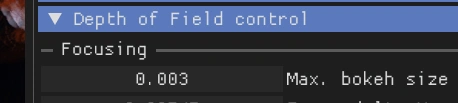
6. For the first screenshots (WE SEE THEM AS EXPERIMENTS FOR NOW, okay?), it’s probably the best to keep the bokeh low for now, so we leave it at something like this (if the bokeh size is higher, things out-of-main-focus will get more blurry)
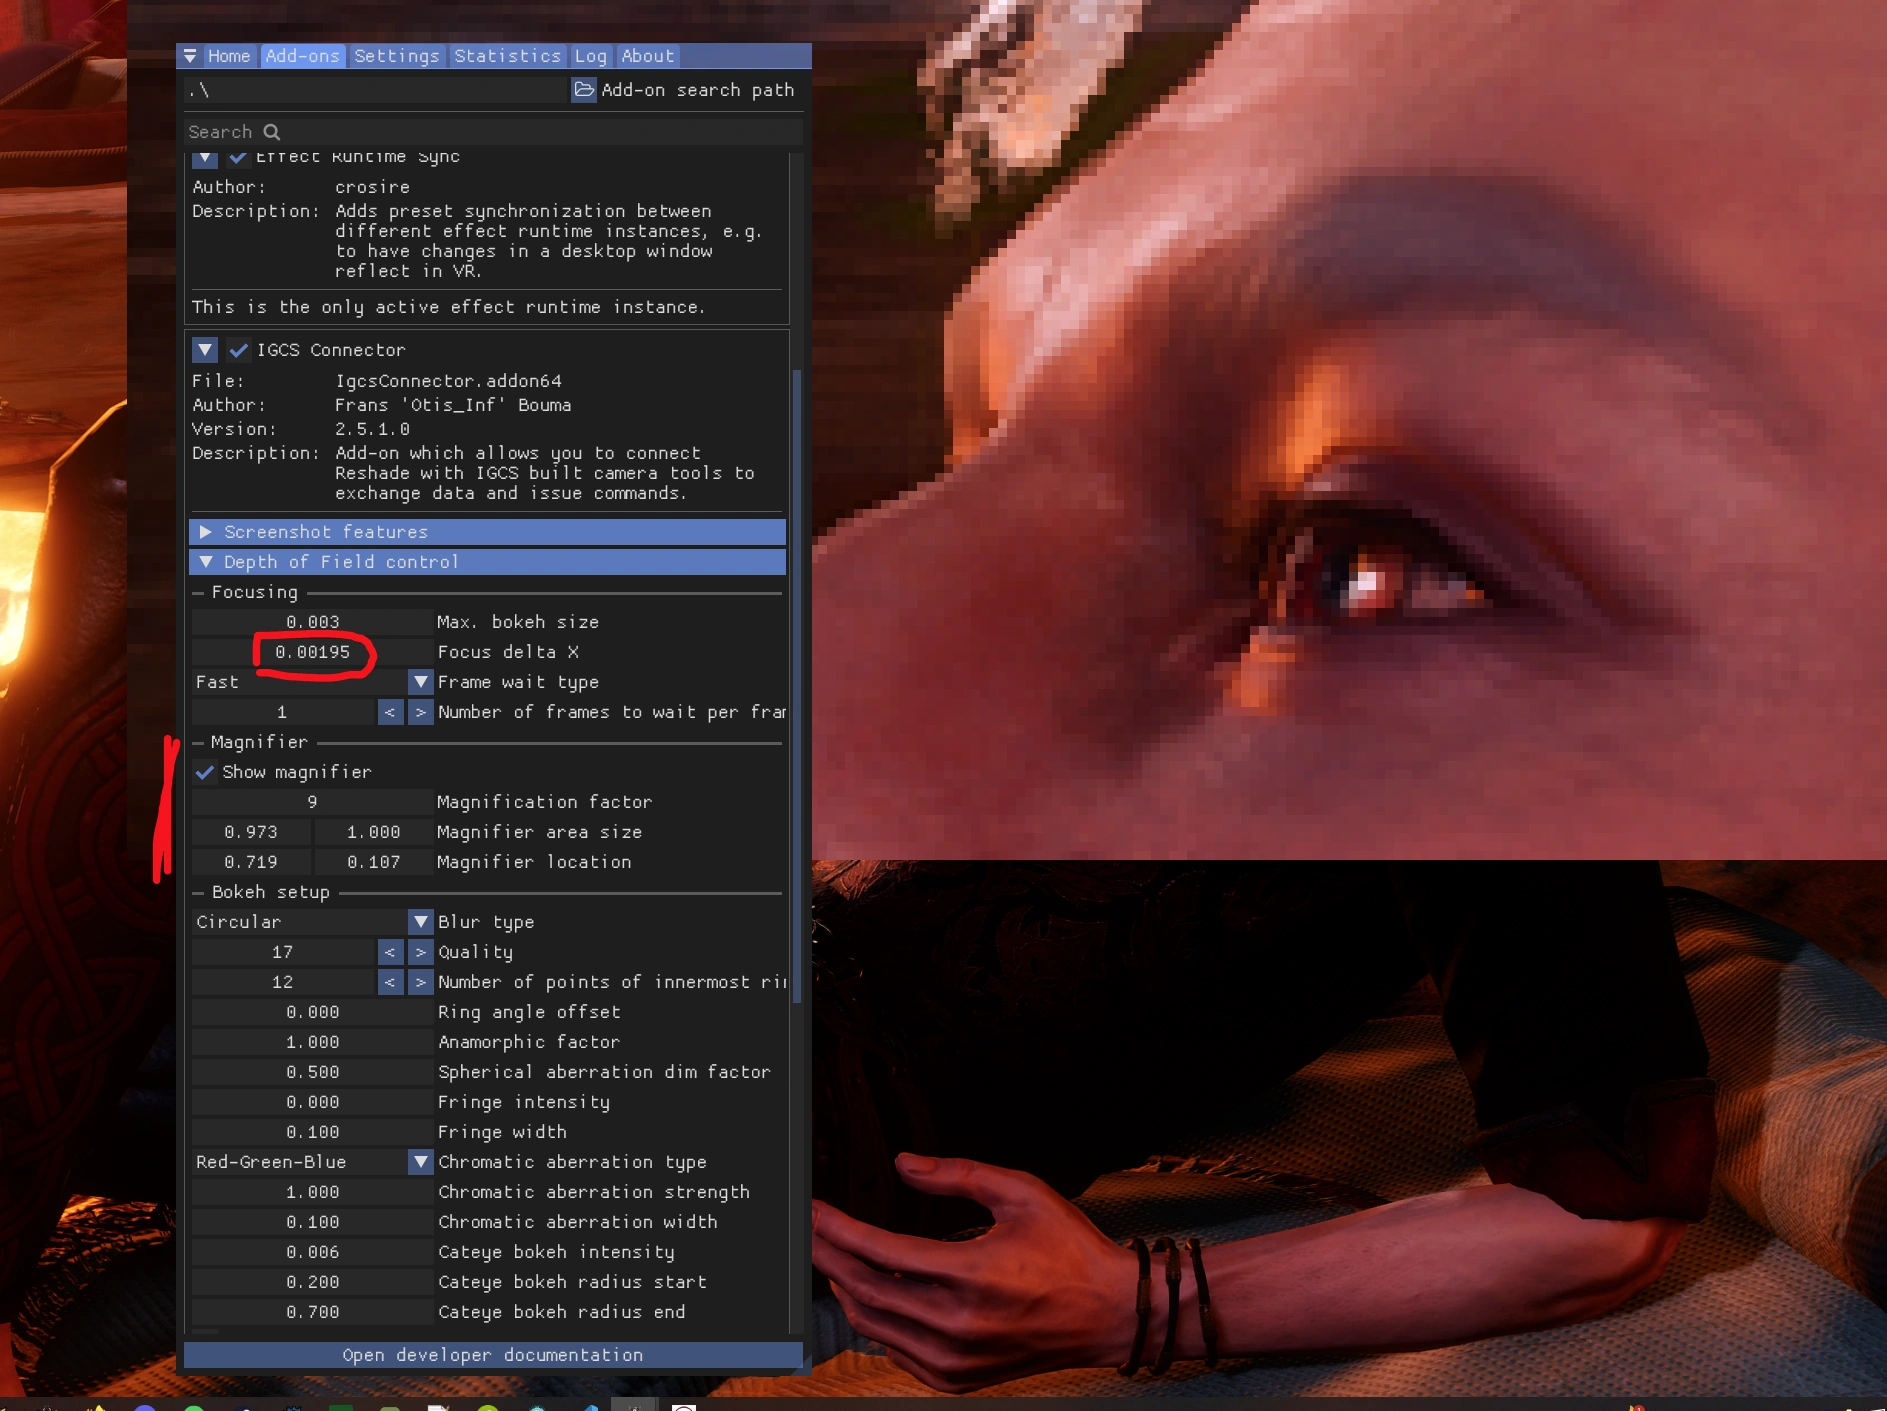
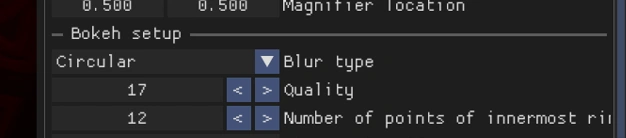
7. Now we want to align the two different overlapping pictures (which is controlled by the bokeh size) again. The "Magnifier" zooms into the picture, so it’s easier for us to align the pictures. The Magnification Factor is the zoom level. The Magnifier LOCATION is what you will mostly use, to focus on that part of the picture that should be in focus, sharp and crisp.
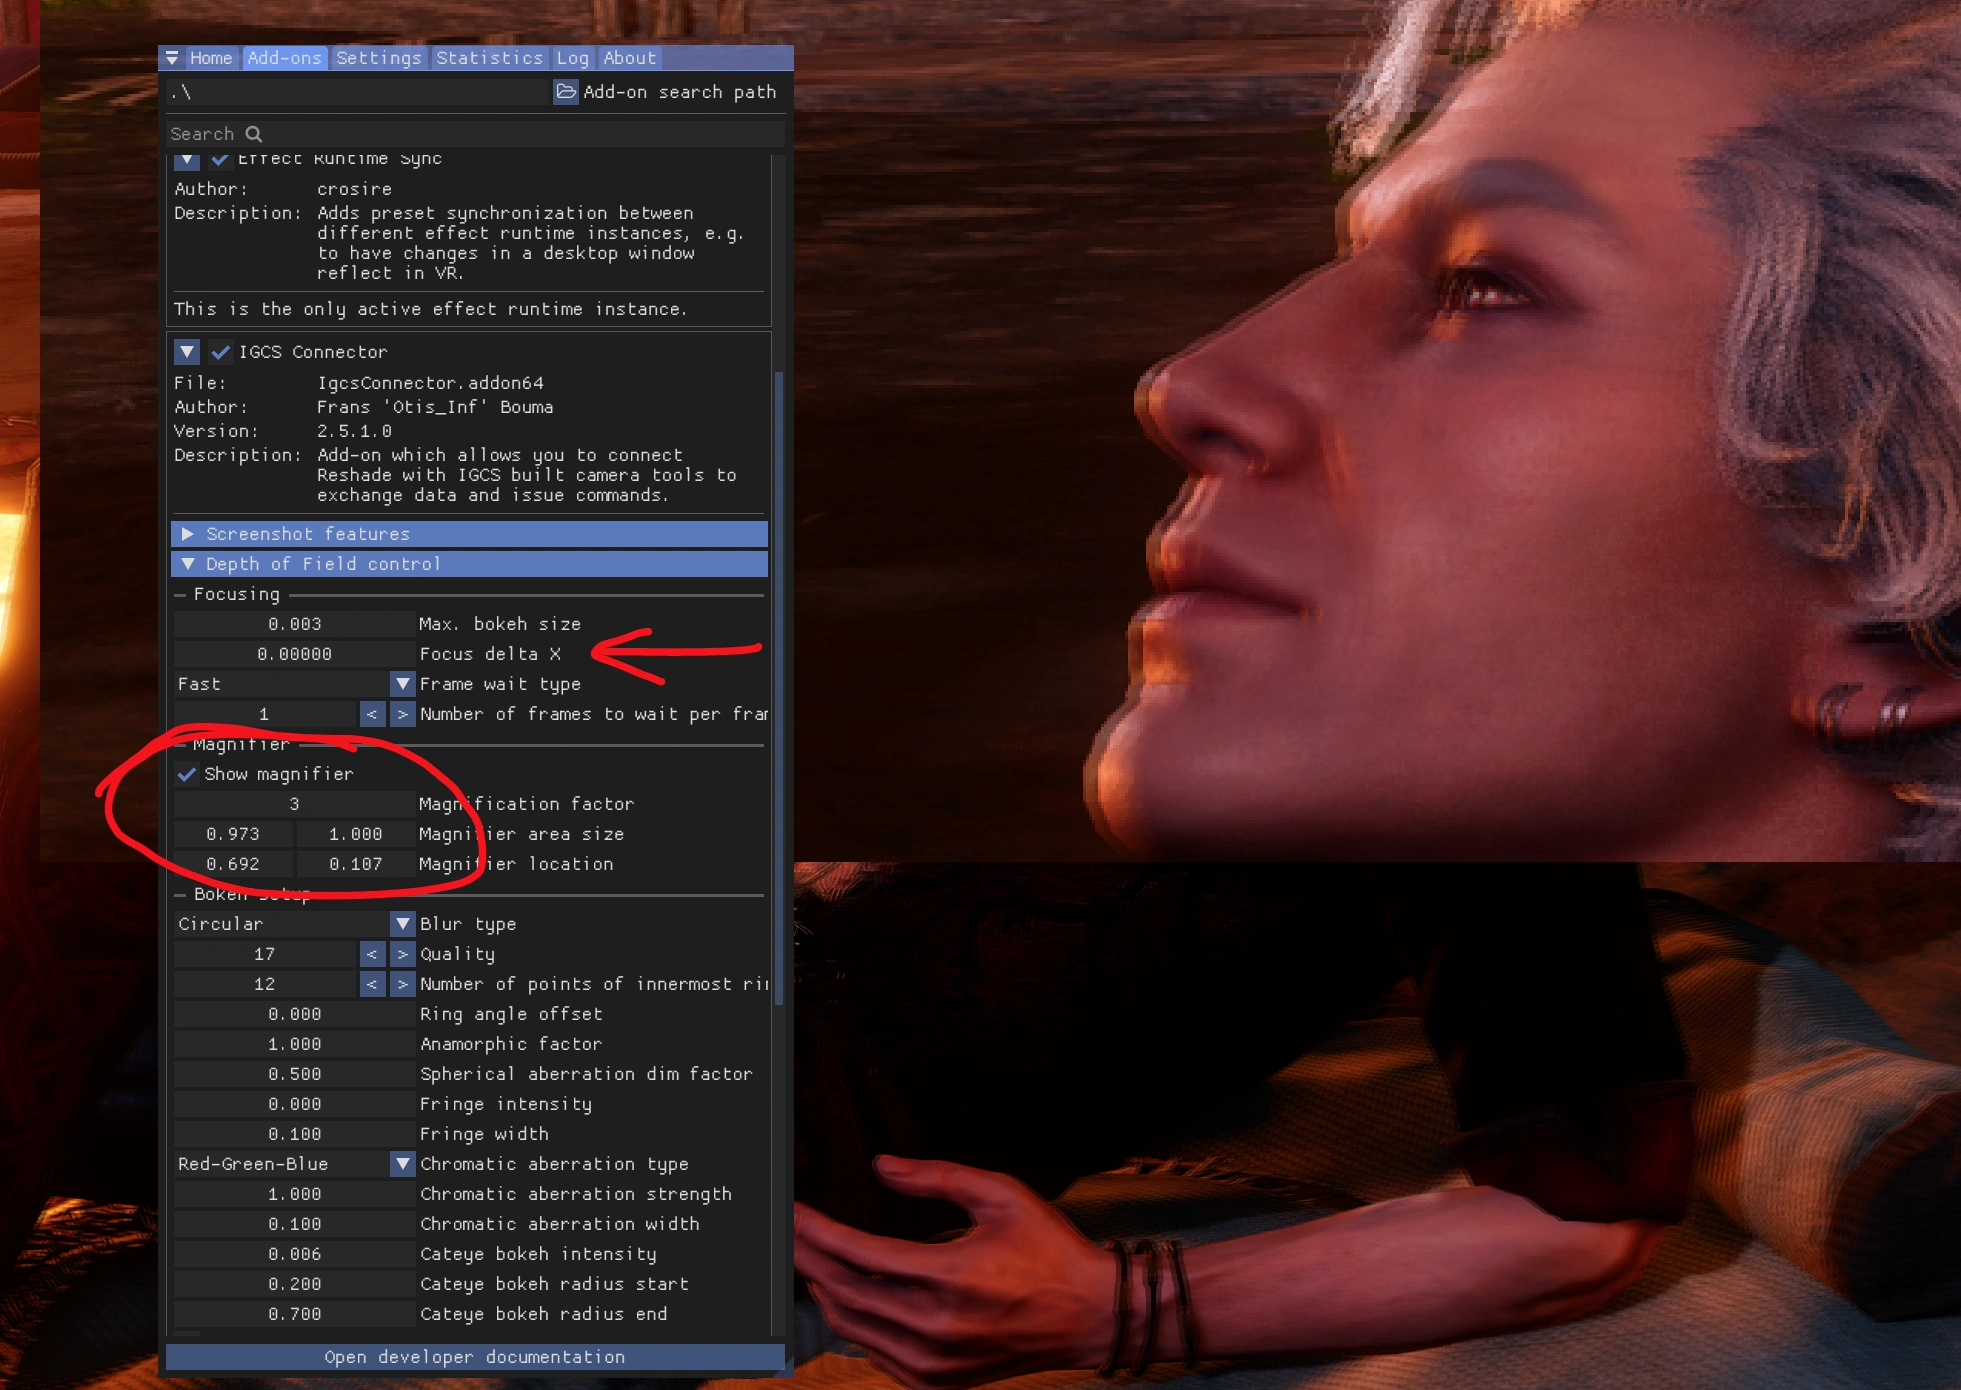
8. Align the pictures with “Focus delta X” until the part of the screenshot that you want to be SHARP and FOCUSED is sharp in the zoomed-in part. (You don’t have to use the zoom-to-align thingie, but it’s easier to see that way what you are doing, and if it’s really centered.)
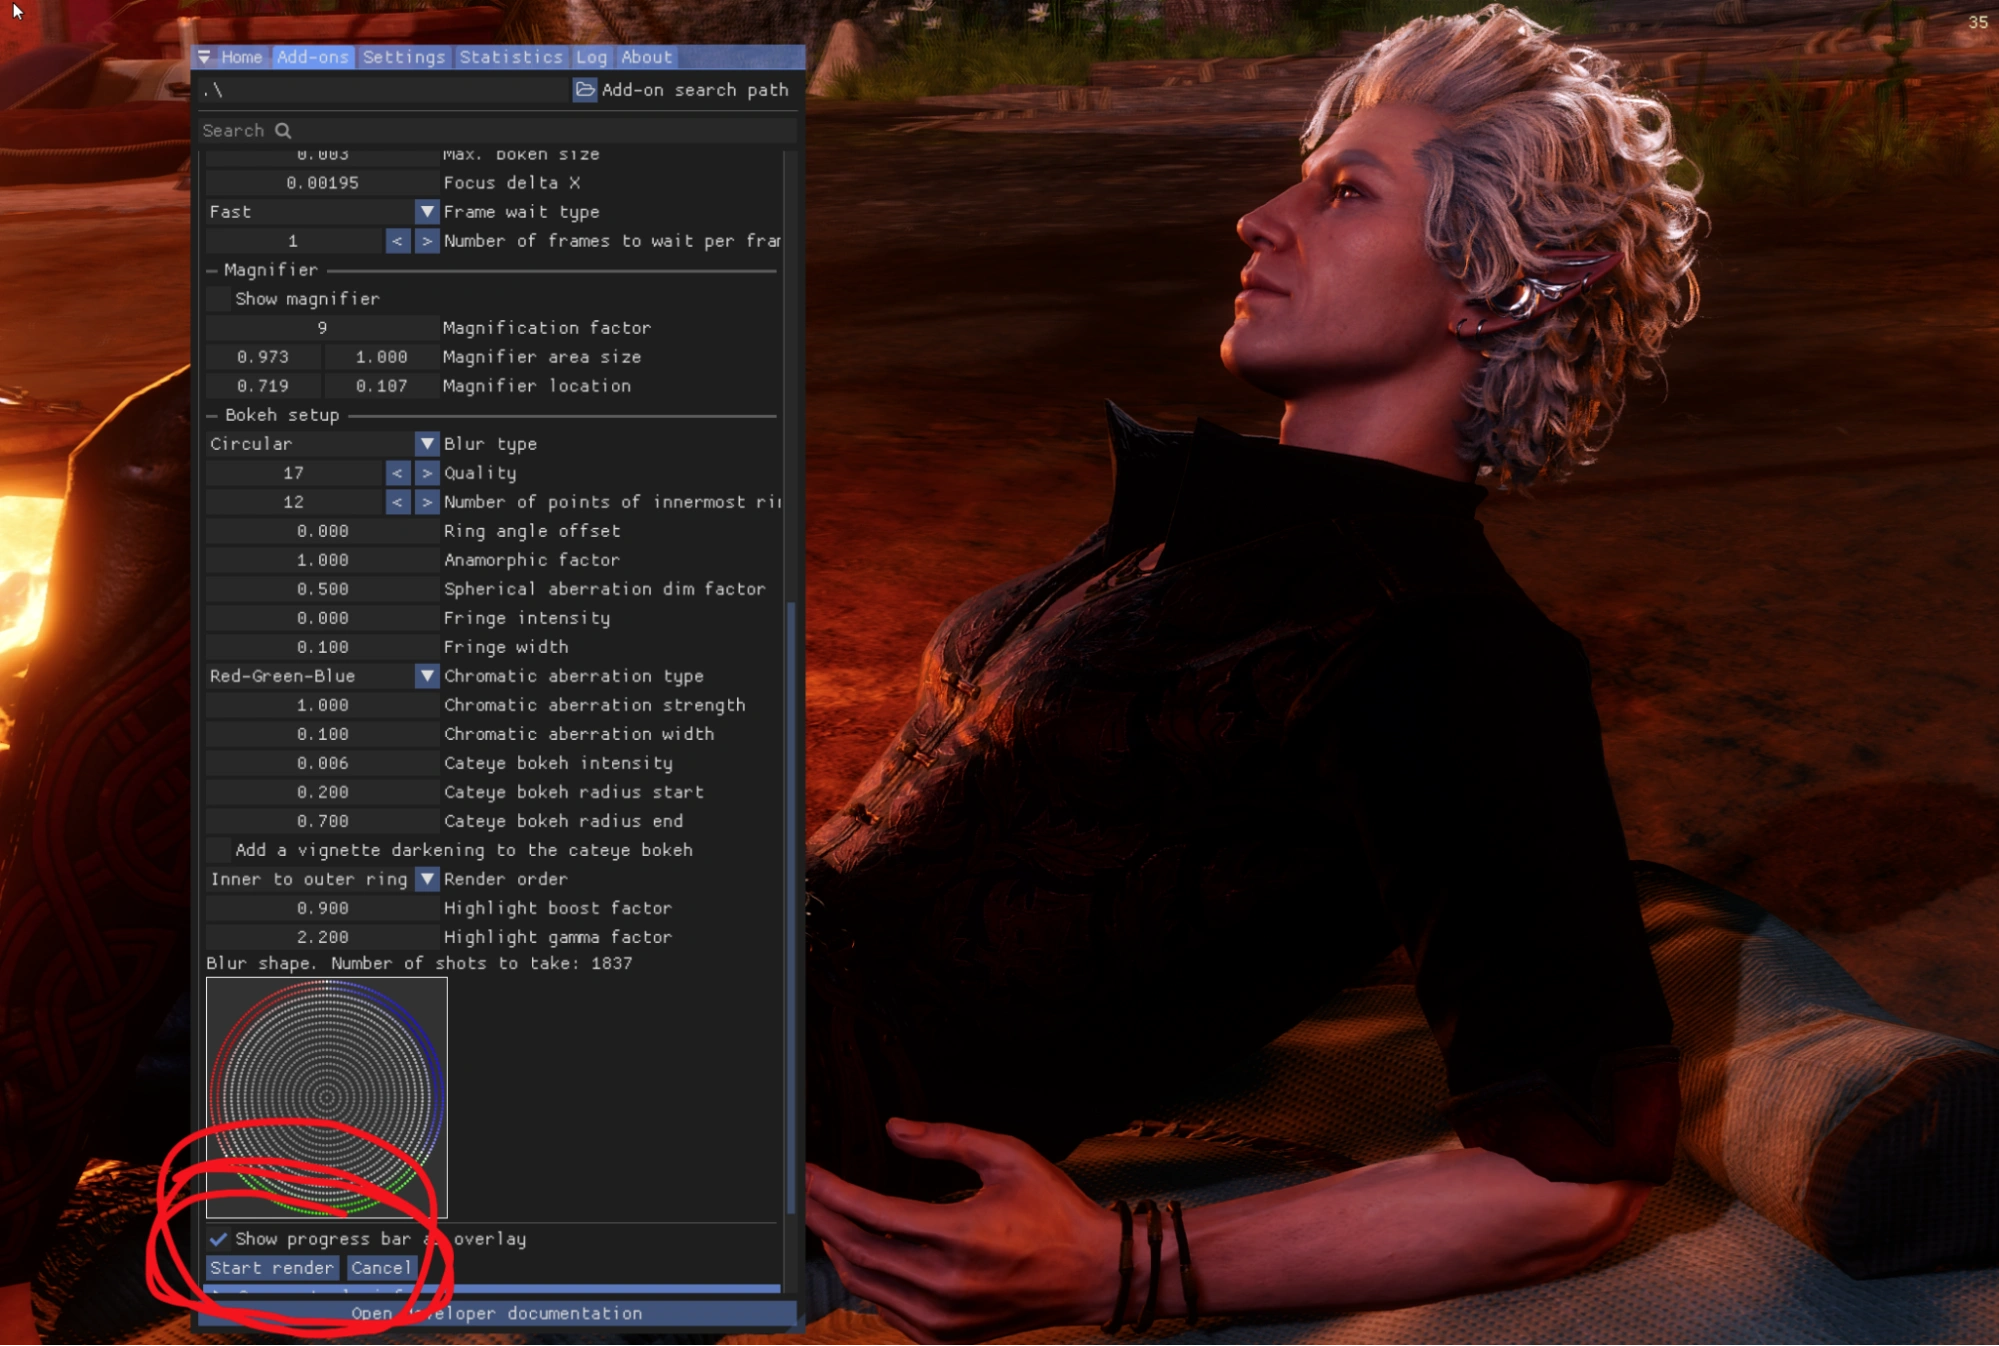
9. Change the settings of the Bokeh setup (I can’t give any more tips here, just try out something similar to my number and see if you are happy)
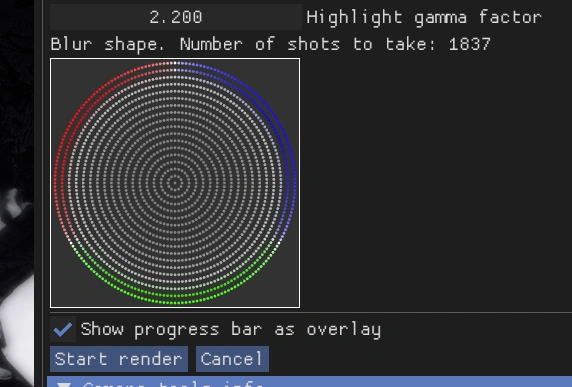
10. Now you can start the rendering process by clicking “Start render”
11. Your screenshot will render now, it will take a while, depending on the quality you will choose.

12. Your screenshot rendering is finished when it’s not counting up anymore. Now hide the Reshade window with your normal shortcut (the one that opens and closes your Reshade) and do your normal screenshot.
VERY IMPORTANT: After you made your screenshot, click “END SESSION”.
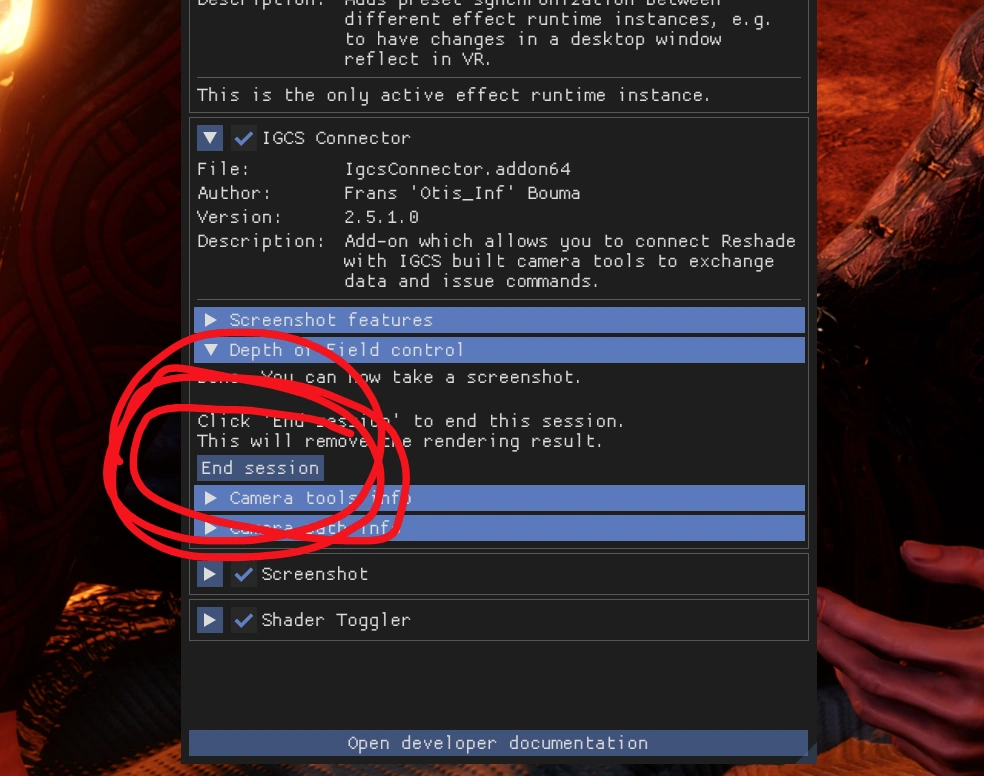
If you forget to end your session, you can get all kinds of weird behaviour ingame, and you will wonder what happened. MANY MANY TIMES it’s just depth-of-field session being active.
Only if you see this:
it means your session is truly DEACTIVATED.
If you still can see any other DOF settings (like Bokeh and the zoom etc.), it means your session is still activated. If you can still see this:
it means you have an active depth-of-field session and things can get buggy. Only turn the session on when you are ready to render and ready to make your screenshot.
(to use effects that need depth, for example: DepthDarkness, ADOF) Step 1-8
We change the settings under “Home” and “Add-ons”:
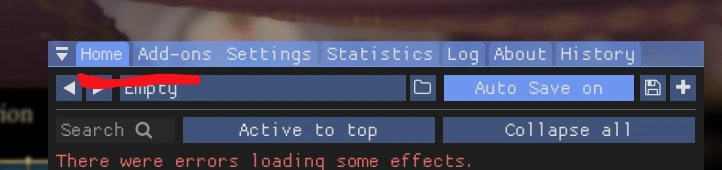
1. First setting we change is under the Home tab.
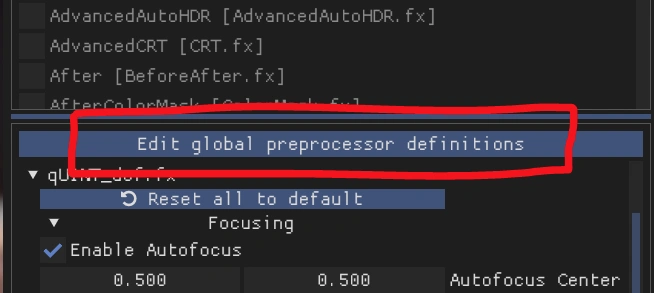
2. Click on “Edit global preprocessor definitions”
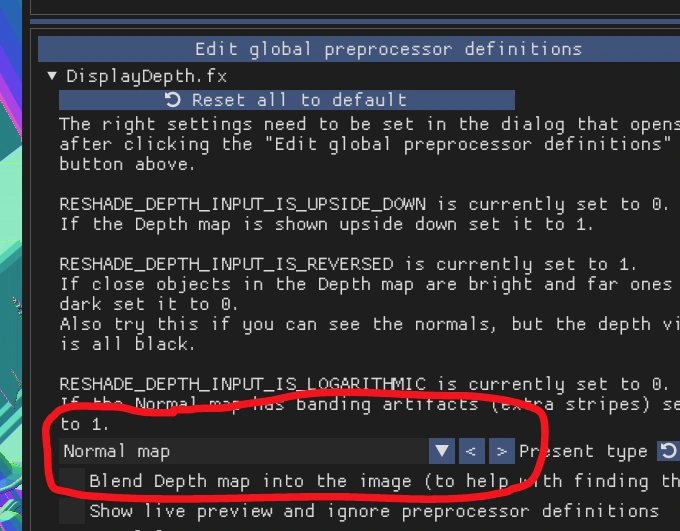
3. Make sure you have these settings:
RESHADE_DEPTH_LINEARIZATION_FAR_PLANE 1000.0
RESHADE_DEPTH_INPUT_IS_UPSIDE_DOWN 0
RESHADE_DEPTH_INPUT_IS_REVERSED 1
RESHADE_DEPTH_INPUT_IS_LOGARITHMIC 0

4. Activate DisplayDepth in the Home tab list

5. Pick “Normal Map” under the DisplayDepth settings
6. Go to the Add-ons tab and activate “Copy depth buffer before clear operations”

7. Now you can go back to the Home tab, and deactivate DisplayDepth. All settings are ready now that depth should work.
8. DONE